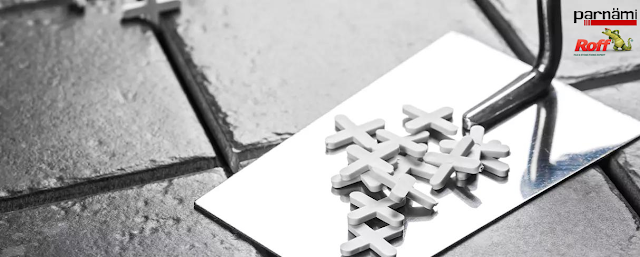
Installing tiles and stones requires the use of tile spacers. These compact yet powerful floor leveling tools are made to make sure that your tiles are installed with uniform spacing and alignment. Using tile spacers can make the difference between a flawless and a shoddy tile installation in your bathroom, kitchen or any other area of your house or place of business. This article will go over the function and application of tile spacers in repairing stones and tiles.
What are Tile Spacers?
Tile spacers are tiny, a range of sizes and shapes, plastic or rubber devices. There are a wide variety of tile spacers on the market today that are made to meet different needs. To guarantee that the spaces between tiles or stones are uniform and consistent, they are placed between them during installation. Tile spacers come in a variety of sizes, usually between 2 and 5 mm. They come in a variety of forms, such as straight lines, T-shaped pieces, and crosses.
The Role of Tile Spacers
Installing tiles and stones with precise alignment and spacing requires the use of tile spacers. In order to achieve a finish that looks professional, they help in maintaining an even space between tiles. To avoid long-term damage to the wall or flooring, spaces between stones or tiles must permit expansion and contraction. By using tile spacers, you can guarantee a consistent and visually beautiful finish by using uniform gaps between the tiles or stones.
How to Use Tile Spacers
Tile spacers are quite easy to use. The actions to take are as follows:
Step 1: Get the installation surface ready
A clean, level, and dry surface is a must before starting any installation.
Step 2: Sprinkle the surface with adhesive
Apply adhesive to the surface in sections using a trowel with a notch.
Step 3: Set down the first stone or tile
Make sure the tile or stone is level and in line with the surrounding tiles before pressing it into the adhesive.
Step 5: Place the tile spacers.
Make sure the tiles are straight and level when you place the tile spacers in between them at the corners.
Step 5: Continue placing in tiles.
Use tile spacers to maintain a uniform space between each tile as you continue to install tiles or stones.
Step 6: Take out the spacer tiles.
The tile spacers can be taken out by carefully pulling them out from in between the tiles after the adhesive has dried.
Step 7: Grout the gaps
Once the glue has set, use a grout float to apply Roff Star like grout to the spaces between the tiles.
Step 8: Remove extra grout by wiping
To remove extra grout from the tiles, use a damp sponge, being cautious not to get too much grout in the crevices.
When installing tiles or stones, tile spacers are a necessary tool for producing a polished finish. They guarantee uniformity and consistency in the spaces between the tiles, which is essential for avoiding damage and producing a beautiful finish. You can use tile spacers to install your tiles or stones flawlessly by following the instructions given in this article.


Comments
Post a Comment